Nightly release
This guide is for the unstable nightly release, for the latest release go here.Configuring the mod_auth_mellon Apache Module
Configure the mod_auth_mellon Apache module with Keycloak.The mod_auth_mellon is an authentication module for Apache. If your language/environment supports using Apache HTTPD as a proxy, then you can use mod_auth_mellon to secure your web application with SAML. For more details on this module see the mod_auth_mellon GitHub repo.
| Keycloak does not provide any official support to mod_auth_mellon. The instructions below are best-effort and may not be up-to-date. The guide assumes that the server is a RHEL system. Although similar steps would be needed for other linux systems. We recommend that you stick to official mod_auth_mellon documentation for more details. |
To configure mod_auth_mellon you need the following files:
-
An Identity Provider (IdP) entity descriptor XML file, which describes the connection to Keycloak or another SAML IdP
-
An SP entity descriptor XML file, which describes the SAML connections and configuration for the application you are securing.
-
A private key PEM file, which is a text file in the PEM format that defines the private key the application uses to sign documents.
-
A certificate PEM file, which is a text file that defines the certificate for your application.
-
mod_auth_mellon-specific Apache HTTPD module configuration.
If you have already defined and registered the client application within a realm on the Keycloak application server, Keycloak can generate all the files you need except the Apache HTTPD module configuration.
Perform the following procedure to generate the Apache HTTPD module configuration.
Procedure
-
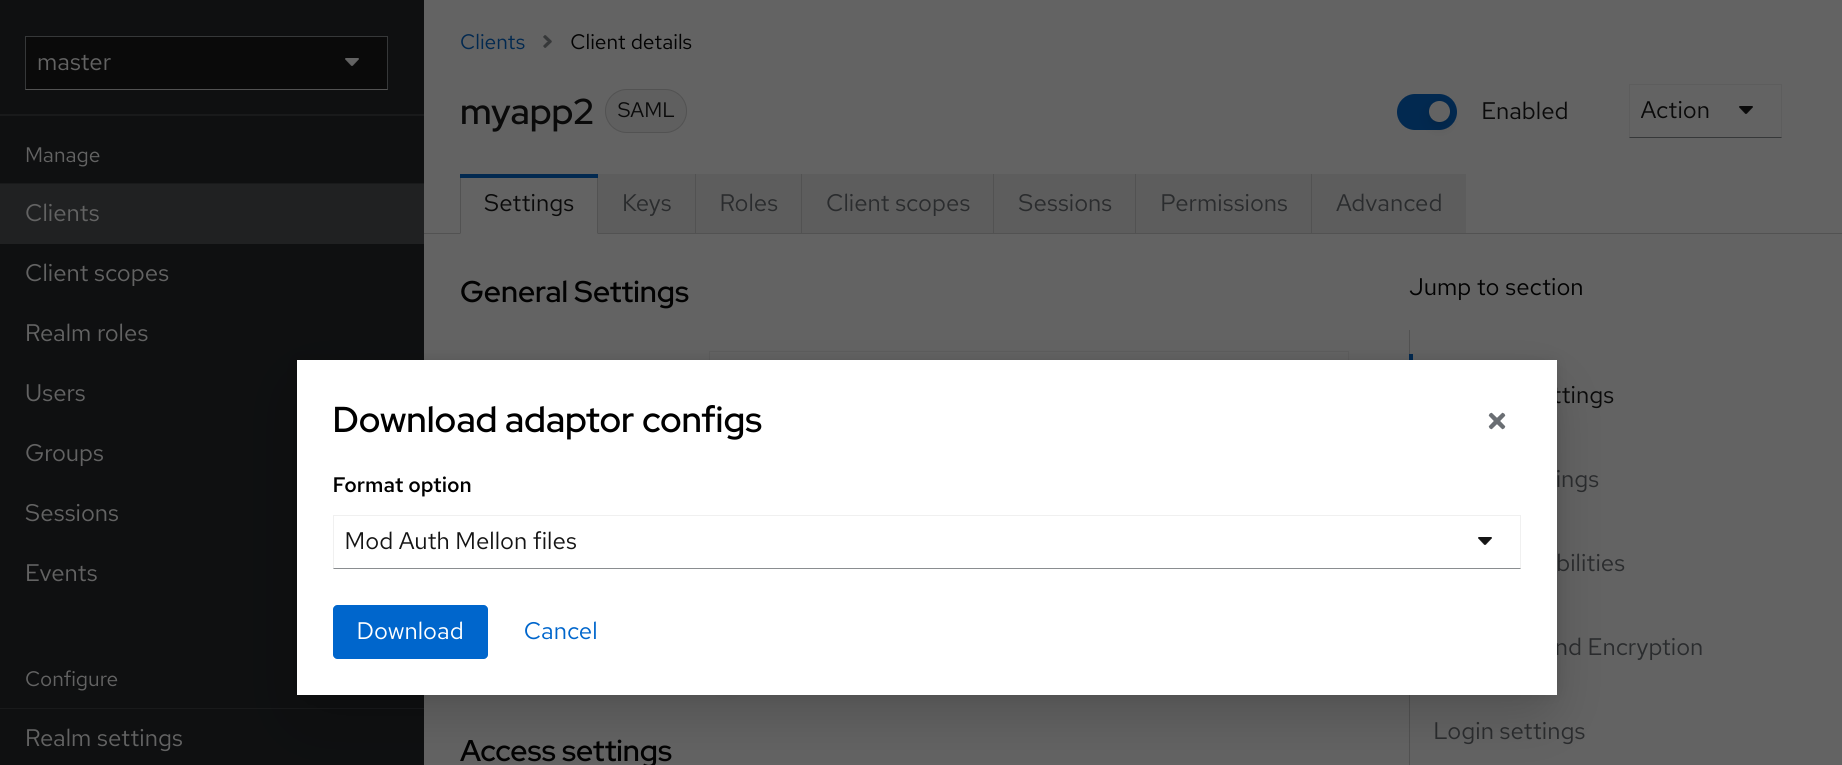
Go to the Installation page of your SAML client.
-
Select the Mod Auth Mellon files option.
Figure 1. mod_auth_mellon config download -
Click Download to download a ZIP file that contains the XML descriptor and PEM files you need.
Configuring mod_auth_mellon with Keycloak
There are two hosts involved:
-
The host on which Keycloak is running, which will be referred to as $idp_host because Keycloak is a SAML identity provider (IdP).
-
The host on which the web application is running, which will be referred to as $sp_host. In SAML an application using an IdP is called a service provider (SP).
All of the following steps need to performed on $sp_host with root privileges.
Installing the packages
To install the necessary packages, you will need:
-
Apache Web Server (httpd)
-
Mellon SAML SP add-on module for Apache
-
Tools to create X509 certificates
To install the necessary packages, run this command:
yum install httpd mod_auth_mellon mod_ssl openssl
Creating a configuration directory for Apache SAML
It is advisable to keep configuration files related to Apache’s use of SAML in one location.
Create a new directory named saml2 located under the Apache configuration root /etc/httpd:
mkdir /etc/httpd/saml2
Configuring the Mellon Service Provider
Configuration files for Apache add-on modules are located in the /etc/httpd/conf.d directory and have a file name extension of .conf. You need to create the /etc/httpd/conf.d/mellon.conf file and place Mellon’s configuration directives in it.
Mellon’s configuration directives can roughly be broken down into two classes of information:
-
Which URLs to protect with SAML authentication
-
What SAML parameters will be used when a protected URL is referenced.
Apache configuration directives typically follow a hierarchical tree structure in the URL space, which are known as locations. You need to specify one or more URL locations for Mellon to protect. You have flexibility in how you add the configuration parameters that apply to each location. You can either add all the necessary parameters to the location block or you can add Mellon parameters to a common location high up in the URL location hierarchy that specific protected locations inherit (or some combination of the two). Since it is common for an SP to operate in the same way no matter which location triggers SAML actions, the example configuration used here places common Mellon configuration directives in the root of the hierarchy and then specific locations to be protected by Mellon can be defined with minimal directives. This strategy avoids duplicating the same parameters for each protected location.
This example has just one protected location: https://$sp_host/private.
To configure the Mellon service provider, perform the following procedure.
Procedure
-
Create the file
/etc/httpd/conf.d/mellon.confwith this content:
 <Location / >
    MellonEnable info
    MellonEndpointPath /mellon/
    MellonSPMetadataFile /etc/httpd/saml2/mellon_metadata.xml
    MellonSPPrivateKeyFile /etc/httpd/saml2/mellon.key
    MellonSPCertFile /etc/httpd/saml2/mellon.crt
    MellonIdPMetadataFile /etc/httpd/saml2/idp_metadata.xml
 </Location>
 <Location /private >
    AuthType Mellon
    MellonEnable auth
    Require valid-user
</Location>| Some of the files referenced in the code above are created in later steps. |
Setting the SameSite value for the cookie used by mod_auth_mellon
Browsers are planning to set the default value for the SameSite attribute for cookies to Lax. This setting means
that cookies will be sent to applications only if the request originates in the same domain. This behavior can affect
the SAML POST binding which may become non-functional. To preserve full functionality of the mod_auth_mellon module,
we recommend setting the SameSite value to None for the cookie created by mod_auth_mellon. Not doing so may result
in an inability to login using Keycloak.
To set the SameSite value to None, add the following configuration to <Location / > tag within your mellon.conf
file.
MellonSecureCookie On
MellonCookieSameSite none
The support for this configuration is available in the mod_auth_mellon module from version 0.16.0.
Creating the Service Provider metadata
In SAML IdPs and SPs exchange SAML metadata, which is in XML format. The schema for the metadata is a standard, thus assuring participating SAML entities can consume each other’s metadata. You need:
-
Metadata for the IdP that the SP utilizes
-
Metadata describing the SP provided to the IdP
One of the components of SAML metadata is X509 certificates. These certificates are used for two purposes:
-
Sign SAML messages so the receiving end can prove the message originated from the expected party.
-
Encrypt the message during transport (seldom used because SAML messages typically occur on TLS-protected transports)
You can use your own certificates if you already have a Certificate Authority (CA) or you can generate a self-signed certificate. For simplicity in this example a self-signed certificate is used.
Because Mellon’s SP metadata must reflect the capabilities of the installed version of mod_auth_mellon, must be valid SP metadata XML, and must contain an X509 certificate (whose creation can be obtuse unless you are familiar with X509 certificate generation) the most expedient way to produce the SP metadata is to use a tool included in the mod_auth_mellon package (mellon_create_metadata.sh). The generated metadata can always be edited later because it is a text file. The tool also creates your X509 key and certificate.
SAML IdPs and SPs identify themselves using a unique name known as an EntityID. To use the Mellon metadata creation tool you need:
-
The EntityID, which is typically the URL of the SP, and often the URL of the SP where the SP metadata can be retrieved
-
The URL where SAML messages for the SP will be consumed, which Mellon calls the MellonEndPointPath.
To create the SP metadata, perform the following procedure.
Procedure
-
Create a few helper shell variables:
fqdn=`hostname` mellon_endpoint_url="https://${fqdn}/mellon" mellon_entity_id="${mellon_endpoint_url}/metadata" file_prefix="$(echo "$mellon_entity_id" | sed 's/[^A-Za-z.]/_/g' | sed 's/__*/_/g')" -
Invoke the Mellon metadata creation tool by running this command:
/usr/libexec/mod_auth_mellon/mellon_create_metadata.sh $mellon_entity_id $mellon_endpoint_url -
Move the generated files to their destination (referenced in the
/etc/httpd/conf.d/mellon.conffile created above):mv ${file_prefix}.cert /etc/httpd/saml2/mellon.crt mv ${file_prefix}.key /etc/httpd/saml2/mellon.key mv ${file_prefix}.xml /etc/httpd/saml2/mellon_metadata.xml
Adding the Mellon Service Provider to the Keycloak Identity Provider
Assumption: The Keycloak IdP has already been installed on the $idp_host.
Keycloak supports multiple tenancy where all users, clients, and so on are grouped in what is called a realm. Each realm is independent of other realms. You can use an existing realm in your Keycloak, but this example shows how to create a new realm called test_realm and use that realm.
All these operations are performed using the Keycloak Admin Console. You must have the admin username and password for $idp_host to perform the following procedure.
Procedure
-
Open the Admin Console and log on by entering the admin username and password.
After logging into the Admin Console, there will be an existing realm. When Keycloak is first set up a root realm, master, is created by default. Any previously created realms are listed in the upper left corner of the Admin Console in a drop-down list.
-
From the realm drop-down list select Add realm.
-
In the Name field type
test_realmand click Create.
Adding the Mellon Service Provider as a client of the realm
In Keycloak SAML SPs are known as clients. To add the SP we must be in the Clients section of the realm.
-
Click the Clients menu item on the left and click the Import client button.
-
In the Resource file field, provide the Mellon SP metadata file created above (
/etc/httpd/saml2/mellon_metadata.xml).Depending on where your browser is running you might have to copy the SP metadata from $sp_host to the machine on which your browser is running so the browser can find the file.
-
Click Save.
Editing the Mellon SP client
Use this procedure to set important client configuration parameters.
Procedure
-
Ensure Force POST Binding is On.
-
Add paosResponse to the Valid Redirect URIs list:
-
Copy the postResponse URL in Valid Redirect URIs and paste it into the empty add text fields just below the "+".
-
Change
postResponseto paosResponse`. (The paosResponse URL is needed for SAML ECP.) -
Click Save at the bottom.
Many SAML SPs determine authorization based on a user’s membership in a group. The Keycloak IdP can manage user group information but it does not supply the user’s groups unless the IdP is configured to supply it as a SAML attribute.
Perform the following procedure to configure the IdP to supply the user’s groups as a SAML attribute.
Procedure
-
Click the Client scopes tab of the client.
-
Click the dedicated scope placed in the first row.
-
In the Mappers page, click the Add mapper button and select By configuration.
-
From the Mapper Type list select Group list.
-
Set Name to
group list. -
Set the SAML attribute name to
groups. -
Click Save.
The remaining steps are performed on $sp_host.
Retrieving the Identity Provider metadata
Now that you have created the realm on the IdP you need to retrieve the IdP metadata associated with it so the Mellon SP recognizes it. In the /etc/httpd/conf.d/mellon.conf file created previously, the MellonIdPMetadataFile is specified as /etc/httpd/saml2/idp_metadata.xml but until now that file has not existed on $sp_host.
Use this procedure to retrieve that file from the IdP.
Procedure
-
Use this command, substituting with the correct value for $idp_host:
curl -k -o /etc/httpd/saml2/idp_metadata.xml \
https://$idp_host/realms/test_realm/protocol/saml/descriptor
Mellon is now fully configured.
-
To run a syntax check for Apache configuration files, use this command:
apachectl configtestConfigtest is equivalent to the -t argument to apachectl. If the configuration test shows any errors, correct them before proceeding. -
Restart the Apache server:
systemctl restart httpd.service
You have now set up both Keycloak as a SAML IdP in the test_realm and mod_auth_mellon as SAML SP protecting the URL $sp_host/protected (and everything beneath it) by authenticating against the $idp_host IdP.
On this page